LoginTC User Sync Tool on Windows
Below are the instructions for setting up and running the LoginTC User Sync Tool on your Windows machine on an hourly schedule.
2. Ensure that java is correctly installed and added to PATH by opening PowerShell and running java.exe
3. Download and extract the LoginTC User Sync Tool to C:\logintc-sync https://www.logintc.com/downloads/logintc-sync-1.0.3.1.zip
4. Go to C:\logintc-sync and copy sample.cfg to config.cfg
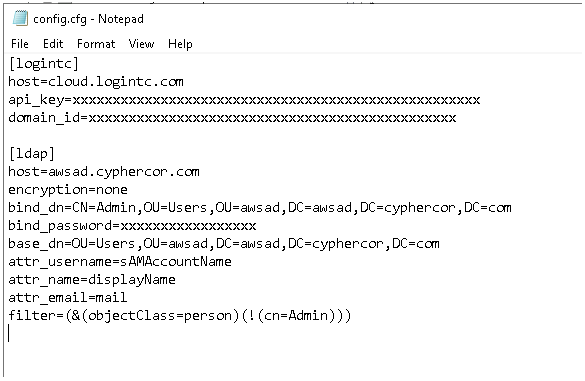
5. Open config.cfg with Notepad
NOTES:
-> Enter your domain_id (found in Domain section in LoginTC Admin Panel) and api_key (found in Settings section at the bottom of the page)
-> bind_dn can either be part of “Domain Admins” or be a service account with full read-only privileges
-> base_dn should exactly be the subtree which holds the users you want to sync. If base_dn is the top-level DN, it will sync unnecessary users as well
-> Ensure all users have an email address and set the attr_email correctly
-> If you don’t want to sync the Admin user, you can filter it out by using the filter shown in the screenshot above. The cn will need to be changed to the cn of your admin user.
6. Run powershell, go to C:\logintc-sync and do a dry run using “java.exe -jar .\logintc-sync.jar --dry-run .\config.cfg”. Check if only the required users are fetched from AD.
Configure hourly task:
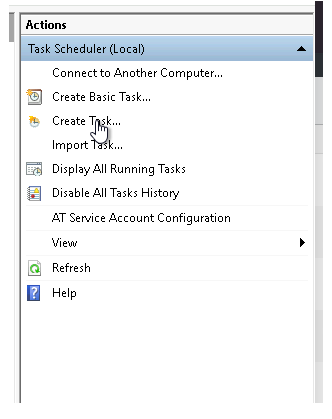
1. Open Task Scheduler found in Administrative Tools in Control Panel
2. Select Create Task
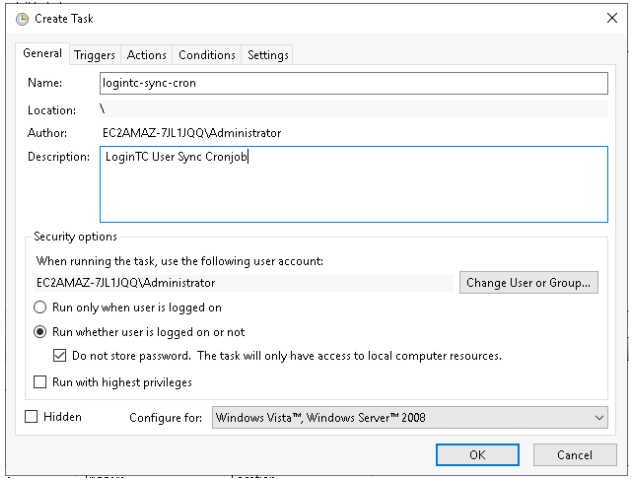
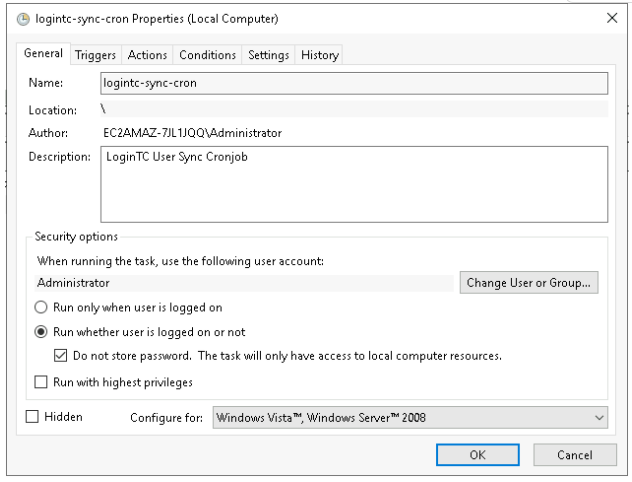
3. Fill in a name and description. Select “Run whether user is logged on or not”. Select the “Do not store password.” checkbox as well.
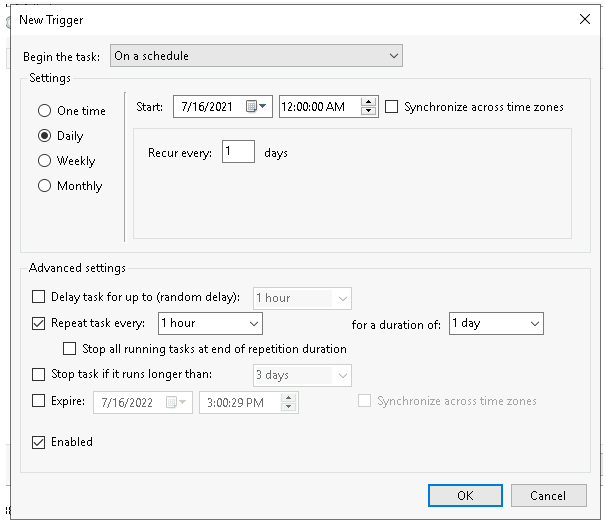
4. Create a new trigger. Select it to run “Daily”. Select “Repeat task every: 1 hour”.
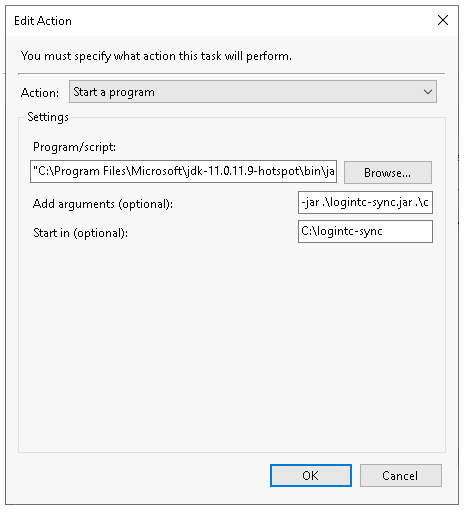
5. Create a new action. If you installed OpenJDK from Microsoft link above, click “Browse” to go to “C:\Program Files\Microsoft\jdk-11.0.11.9-hotspot\bin” to find “java.exe”.
In “Add arguments”, add “-jar .\logintc-sync.jar .\config.cfg”.
Ensure “Start in” points to the directory where logintc-sync.jar and config.cfg are located. In our case it is “C:\logintc-sync”.
6. Press “OK” to finish creating the task.
7. You can check the “History” after a few runs, to see if it is running correctly for you. If you encounter errors, make sure to run logintc-sync.jar with config.cfg manually (without dry-run) to check for any errors.